Step one: pick the right property type
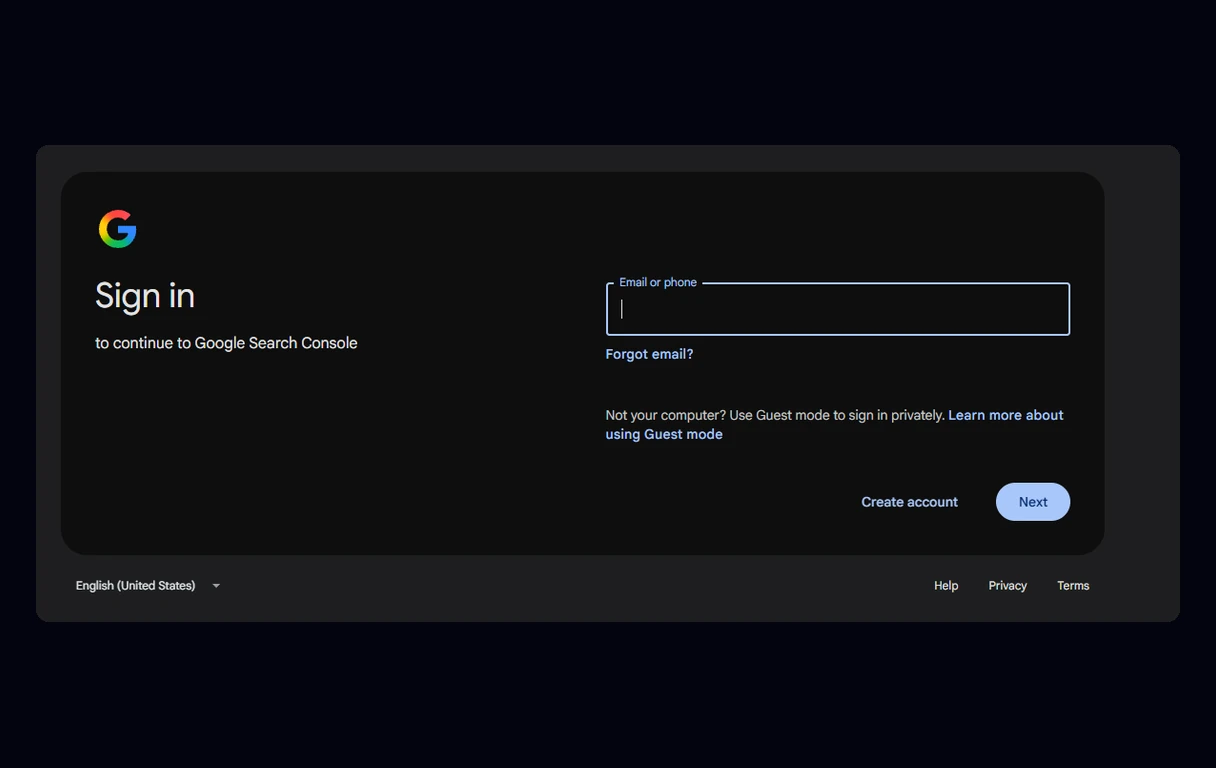
Go to search.google.com/search-console, sign in with the Google account you want to own the data (use a business account you will still control in five years, not a freelancer’s or an old employee’s), and click Add property. Google offers two choices, and the one you pick decides how you verify.
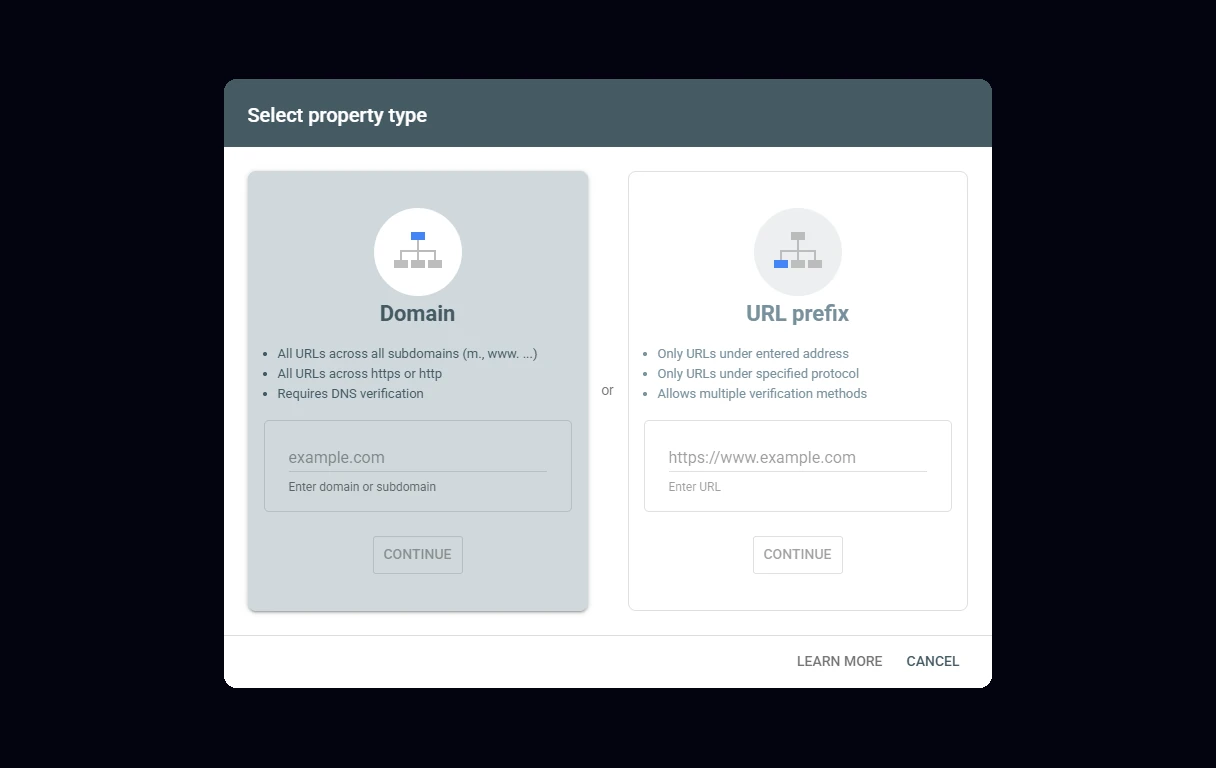
Domain property. You type just the domain, like example.com. It covers everything: www and non-www, http and https, and every subdomain, in one report. The catch is that it can only be verified with a DNS record at the company that manages your domain. This is the one I recommend whenever you can get into your DNS, because it is the complete picture and it survives theme changes and platform migrations.
URL-prefix property. You type the full address, like https://www.example.com/. It only covers URLs that start with exactly that string, so a visitor landing on the non-www version is invisible to it. It is easier to verify, though: an HTML tag in your site’s header, an uploaded HTML file, or your existing Google Analytics or Tag Manager. This is the practical choice when you are on a hosted builder and do not control the domain’s DNS.
You can have both. Plenty of sites verify a URL-prefix property through their platform in two minutes today and add the domain property later when someone finds the registrar login.
Step two: verify ownership on your platform
Search Console will show you either a TXT record (for a domain property) or a meta tag that looks like <meta name="google-site-verification" content="abc123..."> (for a URL-prefix property). Leave that tab open, do the platform step below, then come back and click Verify. Builders rename their menus often, so if a label below has moved, search the platform’s settings for “Search Console” or “verification” and it will turn up.
Domain property on any platform (DNS)
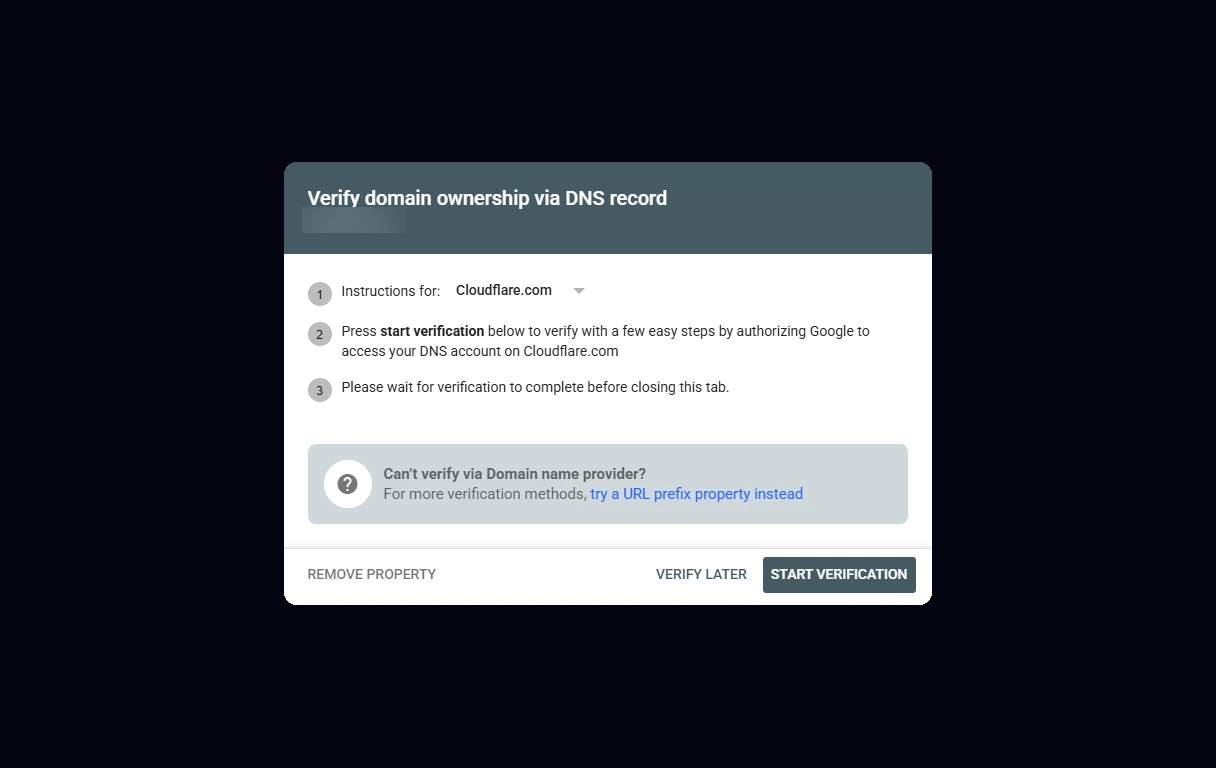
Copy the TXT record Google gives you. Log in wherever your domain’s DNS lives (GoDaddy, Namecheap, Cloudflare, Squarespace Domains, Shopify, and so on), add a new record with type TXT, host or name set to @ (some providers want it left blank), and paste the value. Save it and click Verify. Some registrars, Cloudflare among them, support a one-click flow where Search Console signs into the registrar and adds the record for you (pictured below); if you see that option, use it. DNS changes are often live in minutes but can take up to a day or two, so if verification fails right away, wait an hour and try again rather than adding a second record.
Shopify
Shopify does not let you upload files to the root of your domain, so your options are DNS or the meta tag. If you bought the domain through Shopify, go to Settings, then Domains, pick the domain, and open its DNS settings to add the TXT record for a domain property. For the meta tag route, go to Online Store, then Themes, click the three dots next to your live theme and choose Edit code. Open layout/theme.liquid, find the opening <head> tag, paste the full meta tag on the line directly below it, and save. Two warnings from experience: the tag lives in that theme only, so if you switch or reinstall themes later you have to paste it again, and verify it on the published theme, not a draft copy. Shopify generates your sitemap automatically at /sitemap.xml.
Squarespace
Squarespace has a built-in connection, and it is the easiest route of any platform here. Open Settings, find Connected Accounts (in some versions it sits under the Analytics or SEO panel as a Google Search Console link), choose Google Search Console and sign in with your Google account. Squarespace verifies the site and submits your sitemap for you. You need a paid plan and a live, non-trial site. If you manage your domain through Squarespace Domains you can also add the TXT record there for a domain property. The sitemap lives at /sitemap.xml.
Wix
Wix gives you two ways in. The guided one is the SEO setup checklist in the dashboard (under Marketing and SEO, or Site and Mobile App, then SEO): when you finish it, Wix connects to Google, verifies the site and submits the sitemap in one step. The manual one is under SEO Tools, then Site Verification, then Google Search Console, where you paste the meta tag Google gave you and save. Either way, the site needs a premium plan with a connected custom domain; the free wixsite.com addresses cannot be verified this way. Wix’s sitemap is at /sitemap.xml.
WordPress
You have three good options. Google’s own Site Kit plugin walks you through sign-in, verifies the site and shows Search Console data inside your WordPress dashboard. If you already run an SEO plugin, use it instead of adding another: Yoast has a Google verification code field under its site connections settings, and Rank Math connects to Search Console directly in its setup wizard. Paste only the value inside content="..." when a field asks for a code, not the whole tag. Your sitemap is usually /sitemap_index.xml with Yoast or Rank Math, or /wp-sitemap.xml on a site with neither.
Webflow
Open Site settings, then the SEO tab, paste the verification ID (the value inside content="...") into the Google Site Verification field, save, and publish the site. Unpublished changes do not count, which is the most common reason Webflow verification fails. In the same tab, turn on the auto-generated sitemap; it will be at /sitemap.xml.
Custom-coded or static sites
Download the HTML verification file from Search Console, upload it to the root of your site so it loads at https://yourdomain.com/google1234abcd.html, and click Verify. Or paste the meta tag into your shared header template. If your site already runs Google Analytics or Google Tag Manager with the same Google account, Search Console can verify through those without touching any code.
Whichever method you use, leave it in place. Search Console rechecks ownership periodically, and removing the tag, file or DNS record later quietly revokes your access.
Step three: submit your sitemap and inspect your homepage
Once verified, open Sitemaps in the left menu, type your sitemap path (from the platform notes above) and click Submit. Status should read Success within a day. Then paste your homepage URL into the URL Inspection bar at the top. If it says the URL is on Google, you are done. If not, click Request Indexing. Do the same for your two or three most important pages, and stop there: requesting indexing is rate-limited, and the sitemap handles everything else.
While you are in there, add anyone who helps with your site through Settings, then Users and permissions, rather than sharing your Google password. Give a consultant Full access if they need to submit sitemaps and fix issues, Restricted if they only need to read reports. You can remove them in one click when the work ends.
What to check in the first 30 days
Do not expect much on day one. Search Console only shows data from the day you verify forward, and the Performance report runs a couple of days behind. On the three sites we tracked from launch, impressions appeared within days and the first clicks came about a month in; I wrote up the exact timelines in how long it takes to show up on Google. In the first month, look at three things:
- Pages (under Indexing). How many pages are indexed versus not, and why. “Crawled, currently not indexed” on thin pages is normal. A page you care about showing “Excluded by noindex tag” is a setting someone forgot to turn off, and it is the most common expensive mistake I find on builder sites.
- Performance. Which queries you already appear for, even at position 40. Those are the topics Google already associates you with, and the cheapest place to improve.
- Experience and Security issues. These should be empty. If they are not, fix them before anything else.
One thing Search Console will not tell you: whether ChatGPT, Perplexity or Claude mention you. Google folds clicks from its own AI Overviews and AI Mode into the regular web numbers without separating them, and the other AI engines do not report to it at all. The averages can also mislead in ways I covered in how Search Console misleads you. Search Console is the foundation, not the whole picture. Set it up today, give it a month, and then read what it says before you spend money on anything else.
Our Research On This
Original SEMPITE studies, live queries, recorded answers, named sources. Free to cite under CC BY 4.0.
- Google’s AI Skips Local Car Repair Searches, 6.9% of local repair searches get an AI answer
- 22.1M Monthly Auto Searches, Mapped, 83% of 22.1M auto searches say “near me”
Search Console connected but not sure what the reports mean for your business? The audit reads them for you and tells you what to fix first.
Get Your Brand Audit →Frequently Asked Questions
Is Google Search Console free?
Yes. Google Search Console is completely free for any website owner. You only need a Google account and the ability to prove you own the site, through a DNS record, an HTML tag, an uploaded file, or an existing Google Analytics or Tag Manager setup.
Should I use a Domain property or a URL-prefix property?
Use a Domain property if you can edit your domain's DNS, because it covers www, non-www, http, https and all subdomains in one report. Use a URL-prefix property if you are on a hosted builder and can only add a meta tag. You can verify both.
How do I verify Google Search Console on Shopify?
Either add Google's TXT record in your domain's DNS settings, or paste the google-site-verification meta tag into layout/theme.liquid directly below the opening head tag under Online Store, Themes, Edit code. Re-add the tag if you ever change themes.
How do I connect Squarespace or Wix to Google Search Console?
Squarespace connects through Connected Accounts in Settings and verifies and submits the sitemap automatically. Wix connects through its SEO setup checklist, or you paste the meta tag under SEO Tools, Site Verification. Both require a paid plan and a live custom domain.
What is my sitemap URL?
Shopify, Squarespace, Wix and Webflow all publish it at /sitemap.xml. WordPress uses /sitemap_index.xml with Yoast or Rank Math, and /wp-sitemap.xml with neither. Submit that path under Sitemaps in Search Console.
How long until Google Search Console shows data?
Data starts from the day you verify and the Performance report lags about two days. On new sites we operate, impressions appeared within days and first clicks about a month in. Older sites see useful data within the first week.
Leave a Comment
Have a question or something to add? Drop a comment below.